











10 Laser Engraving Terms You Must Know
One of the things you will quickly realise if you have just bought a laser engraver, or are thinking about getting into the laser engraving business here in Australia, is that people throw around a lot of technical terms. DPI, PPI, vector, dithering… it can feel like a different language at first.

However, it is vital—not only to know what these terms mean but also how they can help you on your journey to mastering your craft. In truth, these are terms that describe processes or items that help you fix problems faster, get cleaner engravings, avoid wasting expensive materials like Jarrah or Tasmanian Oak, and work more confidently and efficiently.
Think of it like a weekend barbie. Even if you aren't a professional chef, you still need to know what “medium heat” means if you want consistent results with your snags or steaks.
1. DPI (Dots Per Inch)
DPI in laser engraving means “dots per inch,” and it refers to how many dots (or pixels) are engraved per inch on the material. DPI directly affects the level of detail your engraving produces and controls the amount of overlap between the engraved dots.
DPI is one of the more technical details of laser engraving, and it usually takes some practice to master because it isn't always straightforward. You cannot just set a high DPI and hope for the best; you have to deliberately choose the appropriate DPI based on the specific material you are working with.
For example, if you’re engraving a photo on acrylic (like Perspex), increasing the DPI can make the image sharper. But if you go too high, you may end up with a cloudy or overburned look instead of crisp detail.
As a rule:
-
Wood engraving often looks better at lower DPI (it prevents overburn and deep charring).
-
For acrylic engraving, you need moderate DPI for a clean frosted look. Too high, and you’re just re-burning the same area without gaining detail.
Pay strict attention to DPI when engraving photos, working on glass or coated metals where clarity matters, or when dialling in your machine settings to find the right balance between production speed and quality.
2. PPI (Pulses Per Inch)
PPI stands for “Pulses Per Inch” and refers to how many laser pulses are fired per inch of movement. It essentially determines how continuous or “connected” your laser output is. It affects whether your cuts will be smooth or perforated, and whether the engraving looks consistent or uneven.

A practical way to understand PPI is to think of it as the setting that controls how “solid” your laser line will be.
-
Low PPI gives a more disconnected, perforated effect (great for fold lines in card).
-
High PPI gives smoother, cleaner cuts.
Laser cutting acrylic with low PPI might leave rough, "chattered" edges. For smoother, glass-like edges, you must increase the PPI. However, keep in mind that there is a risk of melting or excessive residue buildup when the PPI is too high. You’ll mostly deal with PPI when laser cutting materials like wood or acrylic.
3. Line Density
Line density refers to how closely the engraving lines are spaced together. It is closely tied to DPI and controls how “filled-in” your engraving looks.
If your engraving looks like a series of parallel lines instead of a solid fill, this is the setting you adjust first. Your line density is likely too low; increasing it will fill in the gaps for a smoother finish. This is especially important when:
-
Engraving logos, filled text, or solid shapes.
-
Trying to eliminate visible "scan lines."
-
Adjusting for how different materials (like soft pine vs. hard gum) respond to the heat.
4. Air Assist
Air assist is the stream of air directed at the laser point during the process. The two main roles of the air assist system are to blow away residue (so it doesn't stick to the lens or the work) and to reduce the risk of flare-ups or burning.
In Australia’s hobbyist and professional workshops alike, air assist is a game-changer for final product quality. If your engravings look dirty, soot-stained, or burned, the issue is often a lack of airflow.
-
For wood engraving, air assist minimises charring.
-
For acrylic, it helps minimise residue buildup on the surface.
Engraving timber without air assist often leaves heavy soot marks. Turn it on, and your engraving looks cleaner instantly. It is one of the easiest ways to upgrade your laser engraver’s performance.
5. Dithering
Dithering is a technique that uses patterns of dots to simulate shading in images. Since the laser basically burns in one tone (on or off), dithering is essential for engraving photos or grayscale images. It turns a flat image into something with perceived depth and shading.
This determines how smooth the shading looks in a portrait engraving. Different patterns (like Jarvis or Floyd-Steinberg) can dramatically change the final look. Mastering dithering is a must if you plan to do photo engraving or create realistic depth illusions on flat materials.
6. Dot Duration
Dot duration is how long the laser stays "on" for each individual dot. It controls how deep and dark your engraving will appear at a micro level.
Instead of just cranking up the power (which can get messy and cause scorching), you can make subtle improvements by adjusting the dot duration. This changes the energy applied at each point without needing to change your overall speed or power settings. It’s perfect for:
-
Fine-tuning photo engravings.
-
Adjusting darkness on sensitive materials without overburning.
7. Vector
In laser engraving, “vector” refers to a file type or method based on paths (lines and curves) rather than pixels. Laser cutting and clean line engraving are always done in vector format; these paths tell the laser exactly where to go with absolute precision.
You use vector format when:
-
Cutting shapes out of material (like 3mm ply or 6mm acrylic).
-
Engraving sharp text outlines or logos.
If you want crisp edges, use vector. Raster will never give you that same level of precision for outlines. Most high-quality logos are engraved as vectors to ensure sharp, professional results instead of pixelated edges.
8. Raster Engraving
"Raster" means engraving line-by-line, similar to how an inkjet printer works. While raster is generally slower than vector, it is superior for high detail as it fills areas better and handles complex designs.
You choose raster mode for engraving images, photos, or filled graphics. If you’re engraving a photograph onto a piece of Spotted Gum or acrylic, you are using raster mode. Most Australian laser projects use a mix of both: Raster for the fills and images, and Vector for the crisp outlines and final cuts.
9. Power (%)
Power is a measure of the intensity of the laser output. It determines how deep or dark the engraving is.
-
Too much power on acrylic can cause melting or "fogging."
-
Too little power might not mark the surface at all.
The typical power required depends on the laser type (CO2, Diode, Fibre) and whether you are a hobbyist or running a full-scale production shop.
Typical Laser Power Reference Table
| Laser Type | Typical Power Range | Main Use |
| Diode | 5W – 60W | Hobby engraving, light cutting |
| CO2 | 40W – 150W+ | Wood, acrylic, general workshop use |
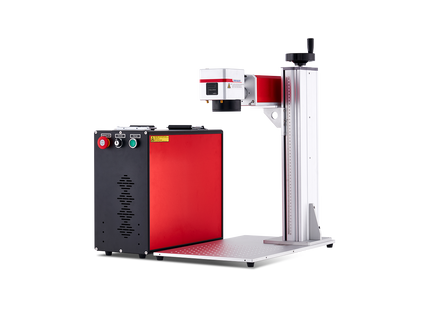
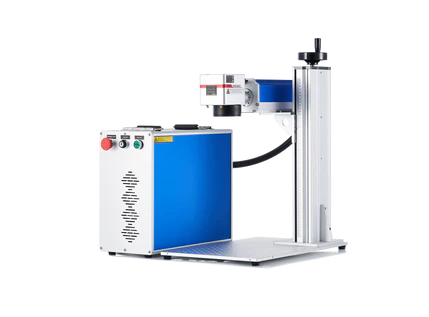
| Fibre | 20W – 150W+ | Metal engraving and marking |
| UV | 3W – 10W | Precision marking on sensitive materials |
10. Speed
Laser engraving speed refers to how fast the laser head moves across the work area. Along with power, speed is the most critical setting because it determines the depth of the engraving through "exposure time."
-
Slower speed = deeper engraving (more exposure to the beam).
-
Faster speed = lighter engraving (less exposure).
If your engraving is coming out too dark, increasing the speed can often lighten it without having to mess with your power percentages.
Quick Reference: Laser Engraving Glossary
| Term | What It Means | Why It Matters |
| DPI | Dots per inch | Controls detail and resolution. |
| PPI | Pulses per inch | Controls energy delivery and edge smoothness. |
| Line Density | Spacing between lines | Affects the "fill" quality and smoothness. |
| Air Assist | Air flow at the laser point | Reduces burning, soot, and debris. |
| Dithering | Dot pattern for shading | Essential for realistic photo engraving. |
| Dot Duration | Time laser fires per dot | Controls depth and darkness at a micro level. |
| Vector | Path-based design | Used for clean outlines and precise cutting. |
| Raster | Line-by-line engraving | Used for photos and filled-in designs. |
| Power | Laser intensity | Affects depth and material reaction. |
| Speed | Movement speed | Balances exposure and overall production time. |
Explore Beginner-Friendly Laser Engravers
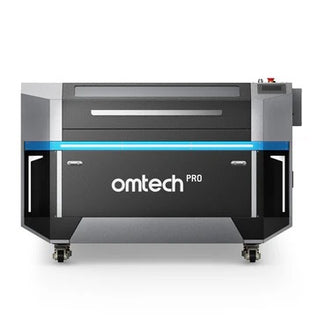
A 60W laser engraver is often considered the ideal entry-level option for small Aussie businesses. It is affordable and powerful enough to handle the "big four" materials: wood, acrylic, leather, and glass.
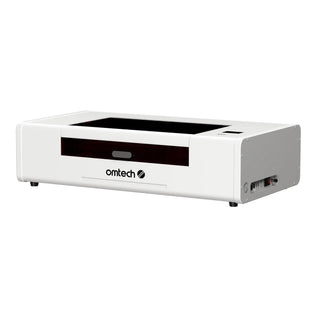
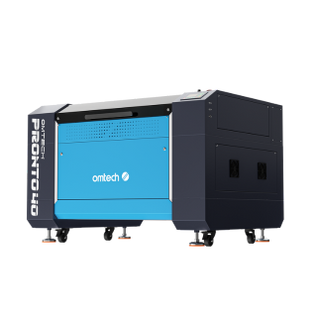
With a rated power of 60W, the OMTECH Pronto 35 is a fantastic choice for a beginner looking to start a side hustle. It features:
-
A maximum recommended speed of 800 mm/s.
-
A large 20-inch x 28-inch (approx. 500 x 700 mm) workspace.
-
Extensive software compatibility (Lightburn, RDworks, etc.).
-
Autofocus for quick setup and a Class 1 safety level, which is critical for home workshops.
This machine provides the workspace and compatibility needed to build your skills while meeting the demands of a growing business.
Final Thoughts
Learning these terms isn’t just about memorising definitions; it’s about understanding how your machine behaves in your specific environment. Once you get comfortable with them, something clicks: you stop guessing, you start adjusting with purpose, and your results become more consistent.
That’s when laser engraving stops feeling like trial-and-error and starts feeling like a skill you actually control. If you’re serious about your results, don’t skip this step. These terms are the foundation.
Want to learn more about starting a laser engraving business on Etsy in Australia? Understanding these terms is the first step to performing better and standing out from the competition.