Leaf Laser Engraving: A Guide to Natural Crafting
Laser engraving on leaves might sound unconventional, but with the right tools and a bit of technique, you can turn nature’s simplest element into stunning, customised art. Whether you’re designing eco-friendly event décor, crafting unique bookmarks, or exploring natural art forms, engraving leaves is a rewarding and sustainable option for Aussie creatives.
In this guide, we’ll take you through every step—from selecting the right leaves and preparing them, to dialling in your laser settings and getting beautiful, lasting results. Let’s get started.
Choosing the Right Leaves for Laser Engraving
It all begins with the material. Dry or brittle leaves just won’t cut it—they’re prone to burning, cracking or crumbling under the laser. Fresh leaves are the way to go. They hold moisture, helping them withstand the laser’s heat while keeping their shape.
Look for broad, flat leaves with a smooth surface. They’re easier to secure and provide a consistent base for your design. Popular choices include magnolia, maple, and poplar leaves. Steer clear of curled, heavily veined, or textured leaves, as they can disrupt the focus and lead to uneven results.
Before engraving, gently wipe the leaf with a clean, damp cloth to remove dirt or residue. This helps the laser achieve an even contact with the surface.
Setting Up Your Laser Engraver
Engraving leaves requires precision and a light touch. Both CO₂ and diode lasers are great for organic materials, and many hobbyists and small business owners already use them for crafting. Just make sure your laser bed is level and clean.
Your leaf should lie completely flat on the bed. Any lift or curve can throw off the focal point and lead to uneven burns. If you’ve got a honeycomb or perforated platform, that’ll help with airflow and reduce the risk of scorching.
If your machine includes an autofocus feature, use it—it’ll help lock in the exact focal distance needed for crisp, clean engraving on a soft surface like a leaf.
Laser Settings for Leaf Engraving
For a 10W diode laser, a good place to start is:
-
Speed: 5,000 mm/s
-
Power: 100%
The high speed allows the beam to pass quickly, preventing overheating, while the power helps etch visible details. That said, settings can vary depending on your leaf type and laser model.
Run a few test engravings on extra leaves. Start light, then slowly increase power if needed. It’s always better to take a gradual approach than risk scorching your final piece.
Designing for Leaf Engraving
Laser engraving leaves is ideal for place cards, wedding tags, botanical illustrations, and nature-inspired gifts. When prepping your file, raster mode is best—it burns line by line and handles shading and text smoothly.
Avoid vector cutting on leaves—it’s usually too intense and can slice through the material entirely.
Keep your artwork centred and avoid pushing details too close to the edges. The tips and sides of a leaf are thinner and more vulnerable to burning.
How to Laser Engrave Leaves: Step-by-Step
-
Harvest fresh leaves and keep them in a slightly humid container if not using right away.
-
Clean the leaf with a damp cloth to remove dust and debris.
-
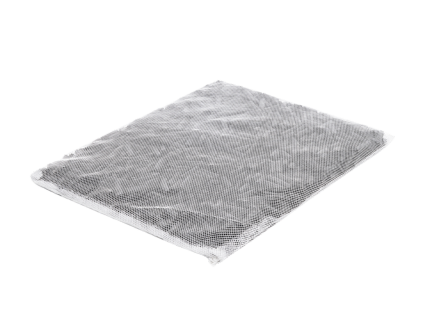
Place it flat on your laser bed. Use light tape, magnets, or a mesh sheet to keep it secure.
-
Load your design into your software and preview the alignment.
-
Start with high speed and moderate power settings.
-
Run a test on a spare leaf, and make adjustments as needed.
-
Engrave your final design, keeping an eye on the leaf’s placement.
-
Carefully remove the leaf using tweezers or a flat tool.
-
Optionally preserve it by pressing it in a book or applying a clear acrylic seal.
Finishing and Preservation Tips
If you’re using the engraved leaves for temporary displays, you might not need extra treatment. But for long-term preservation—especially for artwork or gifts—you’ve got a few options.
Try pressing the leaf between two sheets of baking paper and placing it inside a heavy book for several days. Once dried and flat, you can seal it with a light mist of clear acrylic spray to prevent discolouration or fading.
If framing, choose acid-free backing materials and hang it away from direct sunlight to maintain colour and detail.
Why Leaf Engraving Is Worth Trying
Engraving leaves with a laser isn’t just a novelty—it’s a refreshing and sustainable way to blend nature with creativity. From personalised mementos to artistic experiments, the possibilities are endless.
It’s also a great skill builder. Working with such delicate material helps sharpen your control over power, speed, and focus—skills that’ll come in handy when engraving tougher surfaces like wood, leather, or metal.
Power Your Projects with OMTech
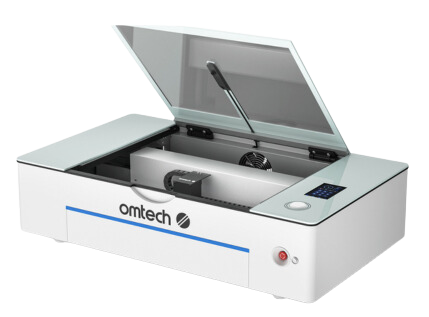
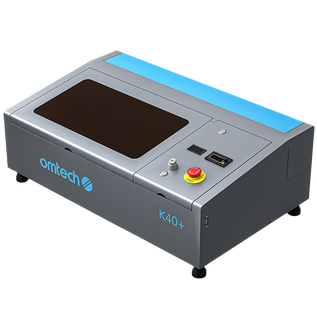
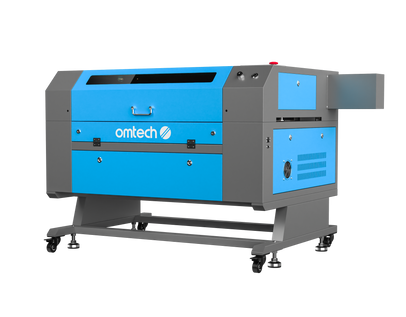
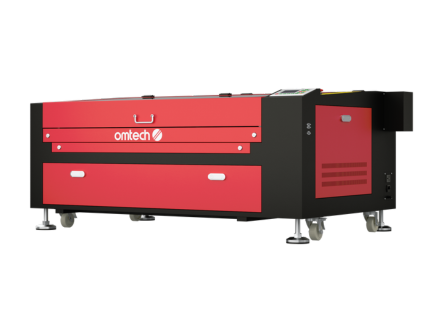
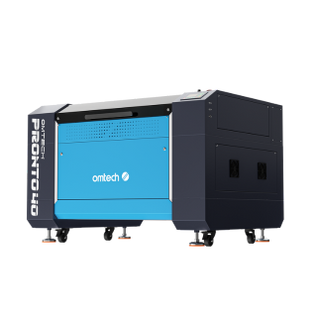
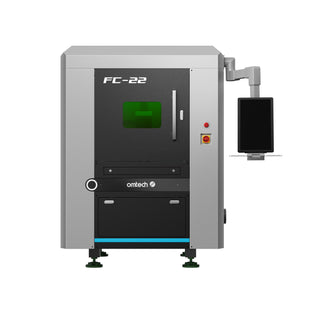
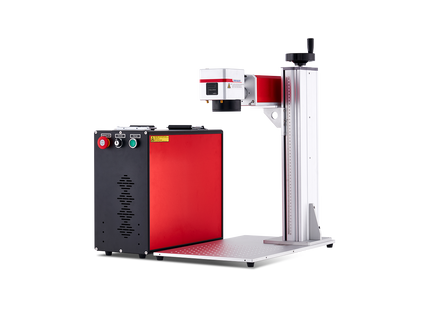
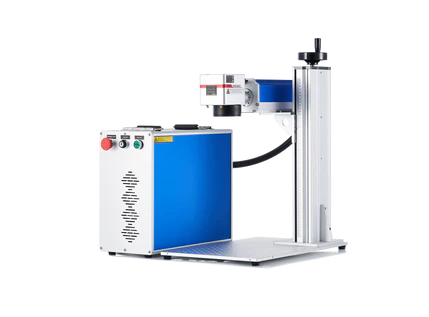
Ready to take your laser crafting to the next level? OMTech laser engravers offer the precision, control, and reliability you need to master projects like leaf engraving and beyond.
Whether you’re a hobbyist exploring a new medium or a small business adding natural elements to your product line, OMTech has the gear to help you make it happen. Explore the OMTech lineup today and see what you can create.


