Clearer Cuts, Cleaner Results: Fixing Fuzzy Laser Engraving the Easy Way

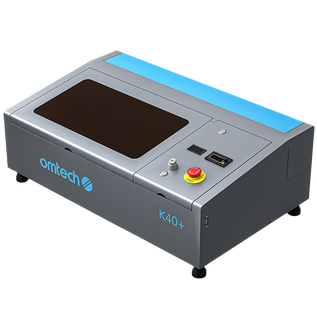
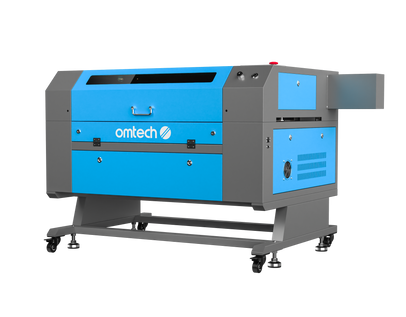
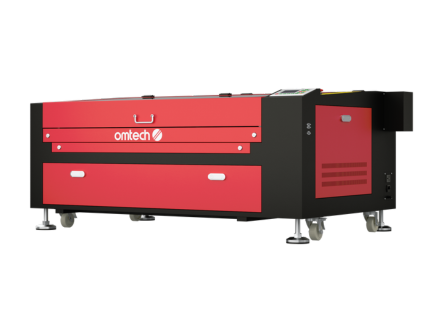
Laser engraving is one of the most satisfying ways to bring digital designs to life—especially with a reliable CO₂ laser cutter like OMTech. But when your artwork starts looking a little off—blurry lines, patchy depth, or faint marks—it can quickly take the fun out of your project.
The good news? These issues are rarely caused by serious machine faults. Most of the time, it's a dirty lens, a shaky surface, or a slightly misaligned laser. Fortunately, they’re all easy to fix with just a few minutes of attention.
In this guide, we’ll walk through the most common reasons behind uneven or weak engraving—and show you how to quickly correct them. Let’s get your machine back to producing crisp, clean results like it should.
Why Is My Laser Engraving Uneven? Common Causes Explained
Before we jump into fixes, let’s look at what typically goes wrong when your OMTech engraver isn’t producing the results you’re after:
- Faint or patchy engraving lines
- Blurry or out-of-focus detail
- Inconsistent engraving depth across a single design
- Unstable work table or moving material
These issues usually stem from one or more of the following:
- A dusty or smudged laser lens
- Poor focus alignment between the laser head and the material
- Material not sitting flat on the laser bed
- Vibrations or slight movement in your workspace or table
Thankfully, they’re easy to identify—and even easier to fix.
Step-by-Step: How to Get Consistent, Clean Laser Engravings
Ready to sharpen up your results? Here’s your go-to process for identifying and fixing laser clarity issues.
1. Power Down and Play It Safe
Before doing any maintenance, always power off your machine and unplug it. Safety first—always.
2. Clean Your Laser Lens
One of the biggest culprits of weak or fuzzy engraving is simply a dirty lens.
Here’s how to clean it properly:
- Remove the protective cap or access panel where the laser lens is housed
- Inspect the lens under light—look for haze, dust, or fingerprint smudges
- Use a proper lens cleaning solution and a soft microfiber cloth
- Gently wipe in a circular motion—don’t apply too much pressure
- Let it dry before closing the housing
Why this matters: A dirty lens diffuses the laser beam, reducing precision and power. It’s like trying to take a photo through a foggy window.
3. Check Your Focus and Adjust if Needed
If your lens is clean and things still look fuzzy, focus could be off. Here’s how to reset it:
- Use your OMTech machine’s built-in focus gauge (or follow manual instructions)
- Adjust the laser head height to match the correct focal distance
- Run a few test lines on a scrap piece of timber to dial it in
- The tightest, darkest mark is usually your sweet spot
Pro tip: Even being off by 1mm can ruin your results—focus matters.
4. Stabilise the Work Table
A slightly wobbly or uneven table might seem harmless—but during laser engraving, even tiny shifts can lead to major alignment issues.
Check and fix your table like this:
- Use a bubble level to check for tilt or dips
- Tighten any bolts or frame joints
- Add vibration-absorbing pads if your machine sits on a bench prone to movement
- Make sure your material is lying completely flat
If the material rocks even slightly on the bed, secure it with hold-down clips or weights.
5. Run a Test Engraving
Before moving on to your actual project, do a quick run on a scrap piece of the same material.
- Check for sharp lines and even depth
- Look closely for skipped spots or faint edges
- If anything looks off, repeat the cleaning, focus or table steps
Don’t underestimate how much a 2-minute test can save you in wasted materials and time.
Material Matters: How Thickness and Type Affect Engraving
You’ve cleaned the lens, refocused the beam, levelled the table—and things still look inconsistent? It might be your material.
Different woods and acrylics react differently to your laser cutter. For example:
- Thicker boards absorb more heat—so they need more power or slower speeds
- Softwoods like pine engrave quickly than hardwoods like oak or jarrah
- Varying grain across a single board can cause minor visual changes
Solution? Always test your design on offcuts before doing the final run. That’s especially important if you’ve changed timber type, thickness, or finish.
Pro Maintenance Tips: Keep Your Laser in Peak Condition
A little routine care goes a long way in preventing blurry or uneven engraving. Here are smart habits to keep:
Clean the lens every 3–5 jobs—or immediately if you see any dip in performance
Inspect the bed and laser path for dust or debris
Check the table stability and laser head alignment regularly
Keep your workshop dust-free and vibration-free as much as possible
Log your best engraving settings for each material you use
The more consistent your setup, the more consistent your results.
Troubleshooting FAQs
Q: I’ve cleaned the lens, but my engraving still looks fuzzy. Now what?
A: Focus is your next best check—use the guide in your manual or test-run different distances to find the cleanest result. Also check that your wood is sitting totally flat on the table.
Q: How often should I clean my lens?
A: If you're using your CO₂ laser cutter often, every 3 to 5 jobs is ideal. But any time you notice a dip in clarity, stop and wipe the lens.
Q: Can the table really affect the engraving that much?
A: Absolutely. Even slight movement during the job can throw off line alignment or cause skipped marks—especially on detailed or multi-pass jobs.
Q: Does every type of wood require new settings?
A: Pretty much. Density, grain and resin levels all play a role. That’s why testing on scraps is a must.
Final Thoughts: Small Fixes for Big Improvements
Laser engraving should feel rewarding, not frustrating. When something goes wrong, it’s easy to assume the worst—but often, the fix is simple: clean your lens, check the focus, level the surface.
By making these checks part of your regular routine, you’ll save yourself time, materials, and headaches. Better yet, you’ll enjoy the full performance your OMTech machine is designed to deliver.
So next time your engraving doesn’t look quite right—take a deep breath, go through your checklist, and get back to creating with confidence


