Decoding G-Code Previews: Master Laser Engraving with OMTech Laser & LightBurn
OMTech Laser: Precision Meets Creativity
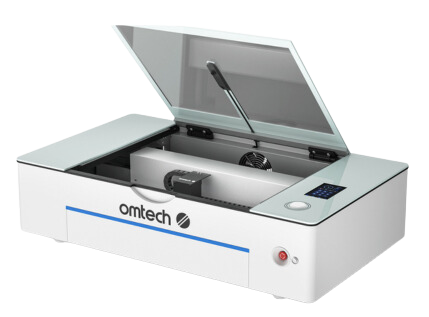
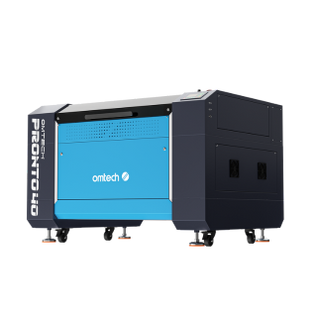
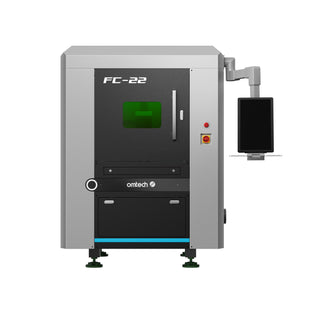
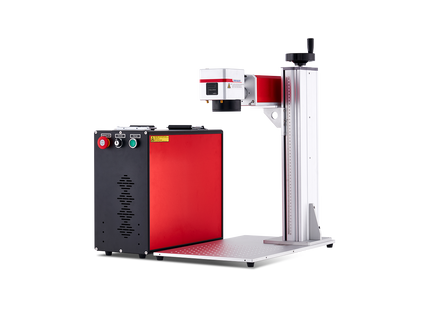
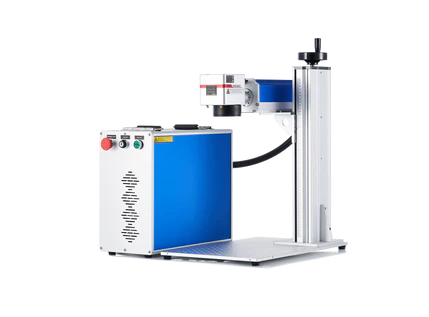
In Australia’s ever-growing DIY and maker community, laser engraving has become a go-to method for turning creative ideas into tangible, high-quality pieces. Whether you're personalising a chopping board, crafting intricate signage, or launching a boutique product line, OMTech Laser machines offer the tools and flexibility to bring your designs to life—accurately, affordably, and reliably.
What sets OMTech Laser apart is its seamless integration of powerful hardware with user-friendly software, including LightBurn, to give both beginners and pros complete control over their projects.
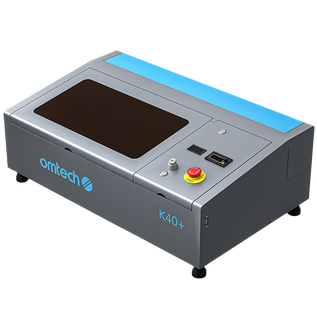
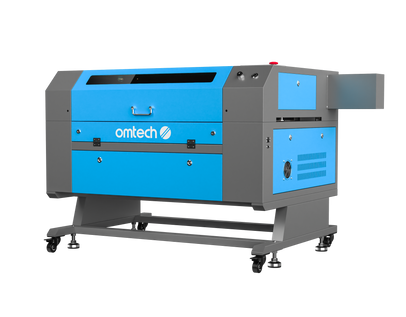
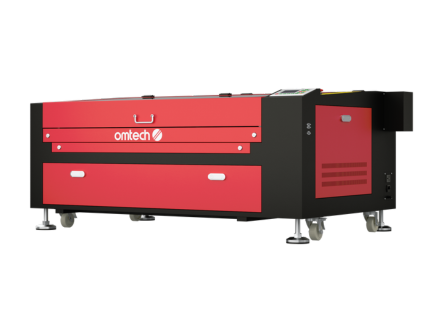
Discover OMTech’s full range of laser machines.
Why G-Code Simulation is a Game-Changer for Makers
Before diving into your first cut or engraving pass, G-code preview tools let you simulate how your laser machine will interpret your design. Think of it as a digital dress rehearsal—it lets you:
- Visualise Every Step: See the laser’s movement path, including cuts and engravings.
- Catch Errors Early: Misaligned graphics, overlapping paths, or burn depth issues? Spot them in the preview before wasting materials.
- Save on Supplies: Timber, acrylic, or leather can be costly—especially premium types. Simulation avoids waste.
- Work With Confidence: When you know how the job will turn out, you can focus on perfecting your art instead of worrying about mistakes.
Your Step-by-Step Guide: Wood Engraving with OMTech & LightBurn
Working with timber is rewarding, accessible, and looks incredible when engraved. Let’s walk through how to take your wood engraving from concept to finished product using OMTech Laser and LightBurn.
Step 1: Choose the Right Timber
For sharp, clean engravings:
- Use materials like birch plywood, maple, or cherry for fine detail.
- Make sure it’s flat, smooth, and free of moisture, oils, or residue.
- Lighter wood tones tend to produce better visual contrast.
Step 2: Design with LightBurn
LightBurn software allows you to:
- Import vector files (SVG, DXF, AI) or design directly within the interface.
- Adjust power, speed, fill mode, and pass depth easily.
- Simulate the laser path using G-code previews.
Download LightBurn for your OMTech system here:
https://omtech.au/products/lightburn-software-download-for-40w-co2-laser-engraver
This visual preview gives you a complete path trace of the laser beam—no surprises, just smart planning.
Step 3: Set Up Your OMTech Laser Machine
- Secure your timber on the laser bed. Make sure there’s no movement during operation.
- Choose the correct lens focus height for optimal engraving.
- Use pre-configured settings in LightBurn or dial in your own (start with low power and adjust upward as needed).
Looking to upgrade your equipment? Check out OMTech’s mid-range laser engravers here:
Step 4: Run a Test Burn on Scrap
Even with simulations, real-world tests provide valuable data:
- Use an offcut of the same material.
- Run your design using the simulated settings.
- Compare the physical result to the digital preview.
If the test burn shows signs of overburn, light passes, or misalignment, make micro-adjustments in LightBurn.
Step 5: Create Your Final Piece
Once you're satisfied:
- Run the full engraving job.
- Afterward, gently wipe away residue with a damp cloth or soft brush.
- For extra polish, apply a clear varnish, mineral oil, or stain to enhance depth and contrast.

How G-Code and Preview Software Boost Creative Control
While traditional engraving is often trial-and-error, digital simulation removes the guesswork. By previewing your laser’s G-code tool path, you’re able to:
- Identify inefficient movements and fix slowdowns.
- Spot conflicting overlaps between cut lines and fill areas.
- Optimise layer order for cleaner, faster processing.
LightBurn’s G-code simulation is particularly useful when:
- You're layering multiple passes (e.g. engrave + cut).
- Using sensitive materials that char or warp easily.
- Running high-volume production with repeatable designs.
Why Makers in Australia Trust OMTech Laser
Beyond the engraving surface, OMTech offers an ecosystem of hardware and software designed with makers in mind:
Precision Engineering
From delicate curves in calligraphy to bold geometric shapes, OMTech’s beam control ensures sharp, consistent lines.
User-Friendly Interface
Whether you’re a complete beginner or a seasoned designer, LightBurn’s drag-and-drop tools make complex designs manageable.
Affordable Entry Point
OMTech’s range of mid-range laser machines offers powerful cutting and engraving capabilities without breaking the bank.
Flexible Material Support
From hardwoods and bamboo to acrylic and coated metals—if it’s engravable, OMTech can probably handle it.
Pro Tips for Engraving Success
Here’s how to elevate your laser game:
- Always Simulate First: Run every job through G-code preview in LightBurn before committing to material.
- Label Your Settings: Keep a spreadsheet of successful power/speed/focus combinations by material type.
- Test, Then Test Again: Timber varies—even within the same sheet. Always test on a scrap.
- Use Layers Wisely: Assign different colours in LightBurn for different tasks (engrave vs. cut vs. score).
- Join the Community: Aussie makers are active on Facebook and Reddit, and OMTech forums are filled with tutorials, settings files, and support.
Common FAQs About Laser Simulation & G-Code
Q: What is G-code and why should I care?
A: G-code is the language your laser machine reads to execute movement. Previewing G-code lets you see how your laser will operate before running the job—saving time, reducing waste, and improving outcomes.
Q: Can I simulate cutting and engraving on other materials too?
A: Absolutely. OMTech’s laser machines, paired with LightBurn, allow you to simulate jobs on acrylic, leather, glass, and even stainless steel (with the right marking agent).
Q: What’s the best way to ensure quality every time?
A: Start with high-resolution artwork, preview your G-code, run a test on scrap, and record successful settings. These steps will reduce surprises and improve the consistency of your work.


