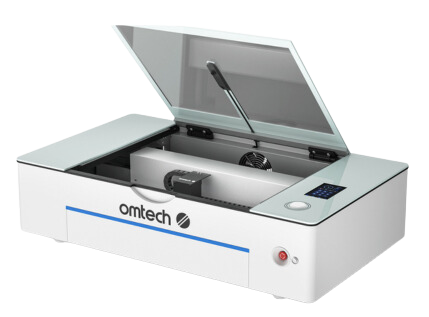
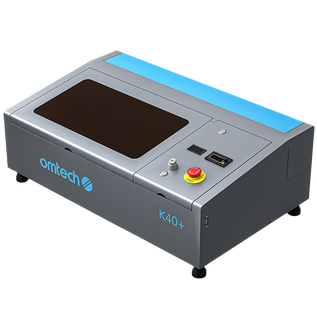
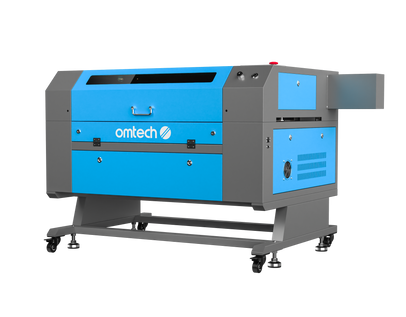
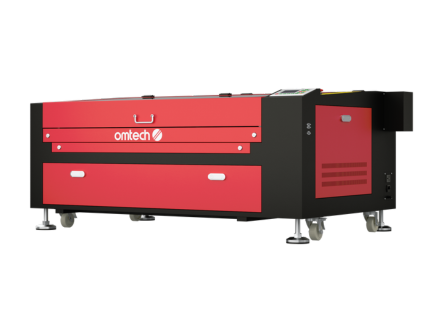
Engrave Smarter: Take Full Creative Control with OMTech Laser
Whether you’re crafting personalised gifts in your shed or building a small online business, OMTech Laser gives you the tools to bring your ideas to life. With sturdy, reliable hardware and intuitive software designed for creatives of all levels, OMTech makes it simple to turn digital designs into stunning wood engravings.
In this guide, we’ll walk you through how OMTech's laser engraving software can streamline your workflow, help you create more confidently, and turn your passion into polished, professional-quality projects.
Smart Software Designed for Creative Flow
The right software doesn’t just make life easier — it transforms how you work. OMTech’s engraving software, compatible with both Mac and PC, helps you stay focused on creativity with features that simplify every step:
- User-Friendly Interface: Ideal for beginners, the software is easy to navigate and quick to master.
- SVG and DXF File Support: These formats preserve intricate details, perfect for complex artwork like mandalas, logos, or fine wood patterns.
- Adjustable Speed and Power: Fine-tune your settings in real-time to get clean, consistent results across different types of wood.
- Live View and Real-Time Monitoring: Watch your engraving unfold line by line with built-in live previews.
- Connection Recovery: If your connection drops mid-job, you won’t lose your progress — the software includes tools to get you back on track quickly.
Whether you’re using free software or OMTech’s premium LightBurn options, the tools are flexible, beginner-friendly, and powerful enough to handle professional tasks.

How to Engrave Wood with OMTech Laser: Step-by-Step
New to laser engraving? No worries! Follow these simple steps to begin your first wood project with confidence:
1. Choose Your Wood
Select a piece of timber that is flat, smooth, and low in resin. Birch plywood, maple, and cherry are all great choices. Avoid knotted or oily wood, as these can impact engraving quality.
2. Design Your Artwork
Import your design into the engraving software. SVG files are best for sharp detail and scalability. Resize, position, and prepare your design as needed within the software workspace.
3. Set Up Your Machine
Place the wood securely on your laser bed. Open your software to input settings for speed, power, and depth. These can be adjusted based on material and design complexity. If you're on a Mac, no problem — OMTech's software is fully cross-platform compatible.
4. Start the Engraving
Once everything is set, click start and watch your design come to life through the live view feature. It’s like watching craftsmanship unfold right before your eyes.
5. Finish and Polish
When complete, gently remove your project and clean off any dust or residue. For an enhanced look, consider adding a stain or protective sealant for a refined, long-lasting finish.
Click for a more detailed beginner's guide: https://omtech.au/pages/omtech-beginners-guide.
Why Software + Hardware Integration Matters
With OMTech, you’re not just buying a laser cutter. You’re investing in an ecosystem that makes your creative process smoother and more effective. Here’s what makes their integrated software-hardware setup so valuable:
- Multi-Format Importing: From hand-drawn to high-tech, the software supports SVGs, PDFs, and more.
- Custom Settings for Materials: Dial in the right power and speed for different woods, ensuring clean lines and crisp detail.
- Real-Time Feedback: Make on-the-fly adjustments during a job to maintain quality even as conditions change.
This tight integration means fewer disruptions, greater accuracy, and better results — all without needing to be a tech expert.
Tips for Better Engraving Results
Already comfortable with your setup? Here are a few ideas to push your creativity further:
- Experiment with Settings: A slight tweak to speed or power can create dramatically different textures. Try running a test grid on scrap wood.
- Stay Up to Date: Keep your software updated for new tools, bug fixes, and better hardware integration.
- Use Scrap for Testing: Save your good timber for finished work. Test on offcuts to dial in perfect settings first.
- Join the OMTech Community: Connect with other Aussie makers and OMTech users via forums, Facebook groups, and online workshops. Sharing tips and asking questions will fast-track your skills.
Your OMTech Laser Questions, Answered
Q: What makes OMTech ideal for wood engraving?
A: It balances power, accuracy, and ease of use. Features like real-time monitoring, live previews, and cross-platform compatibility help users of all levels get professional results.
Q: Can I tweak settings mid-engrave?
A: Yes! Adjust speed and power during operation to refine results without restarting your job.
Q: What if the connection drops during a job?
A: OMTech software includes recovery tools that help you resume without losing progress. Keep your drivers and software updated to minimise issues.
Final Thoughts: Let Your Creativity Shine
Whether you’re creating wedding signs, wooden business cards, or art pieces for your home, OMTech’s combination of reliable hardware and smart software gives you total control. The software is responsive, easy to learn, and flexible enough for almost any creative project you dream up.
For a dependable, creative, and scalable engraving experience, trust the experts at OMTech to help you take your projects to the next level.


