Engraving QR Codes with Laser Precision
If you're a small business owner, market stallholder, or creative professional, having durable, scannable QR codes can give your products a modern edge. Engraving them onto materials like timber, acrylic, leather, or metal ensures they’ll outlast printed labels—while also looking sleek and professional.
In this guide, we’ll walk you through everything you need to know to laser engrave QR codes, including how to generate a proper file, design for clarity, choose the right materials, and set up your laser for precise, clean results. Whether you’re showcasing your online store, linking to a menu, or sharing contact details, laser-etched QR codes make your message last.
Step 1: Generate a Sharp, Scalable QR Code
Start by using a trusted online QR generator. Input the link, contact info, or data you want to share and download the code as an SVG file. This vector format is scalable and ensures every edge is crisp—unlike PNG or JPG files, which can pixelate and reduce scan reliability.
Before moving on, scan the code using multiple devices to confirm it works correctly. It’s much easier to catch issues early on than after engraving.
Step 2: Set Up Your Design in Laser Software
Import your SVG into laser software like LightBurn or EZCAD. Ensure the size is suitable for your material. Each square (or module) in the QR code should be no smaller than 0.5 mm for best readability. Leave a quiet zone—clear space around the code—to help scanners detect it properly.
Convert strokes to filled shapes so your laser engraves solid squares instead of just outlines. This results in better accuracy and easier scanning.
Step 3: Pick the Right Material
Different materials offer different finishes, durability, and compatibility with various laser types:
-
Timber delivers a warm, earthy result—best with lighter-coloured, sanded wood.
-
Acrylic (especially black or white) produces clean, high-contrast engravings.
-
Leather engraves with a rich, dark effect and is ideal when light-toned or vegetable-tanned.
-
Metal is durable and professional—great for tags, plates, and tools.
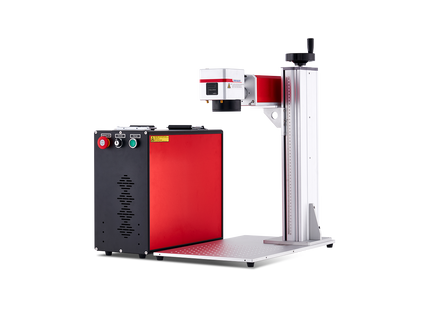
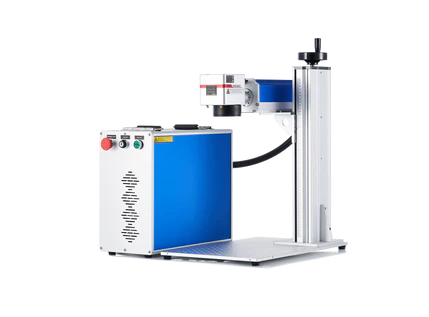
Use CO₂ or diode lasers for organic materials like wood, leather, or coated acrylic. For uncoated metals like stainless steel, anodised aluminium, or titanium, a fibre laser is essential.
Step 4: Clean and Secure the Surface
Use isopropyl alcohol to clean your material before engraving. This helps remove fingerprints or debris that could affect your design.
Secure the material on your laser bed using clamps, magnets, or a jig. Keeping the surface stable and flat is key for a sharp, distortion-free result—especially for something as detailed as a QR code.
Step 5: Dial in Your Laser Settings
Your ideal power and speed settings depend on the material, machine type, and laser wattage. For a 30W system, here’s a general guide:
-
Timber: 40–60% power, 200–500 mm/s speed
-
Acrylic: 10–20% power, 200–400 mm/s speed
-
Leather: 40–70% power, 200–400 mm/s speed
-
Anodised/coated metal: 30–45% power, 1000–2000 mm/s speed
Use a line spacing of 0.05 mm for precision. Always run a test pass on scrap before committing to your final piece. Aim for high contrast and clean edges.
Step 6: Focus the Laser Properly
Your engraving will only be as good as your laser’s focus. If your machine includes an autofocus function, use it. Otherwise, manually set the focus by adjusting the bed or laser height until it’s perfectly aligned with the surface.
Improper focus can result in blurred or patchy QR codes that won’t scan reliably.
Step 7: Run the Engraving
With everything in place—correct file, material secured, settings tested—go ahead and start your engraving. Most QR codes can be completed in under a minute. Monitor the process to ensure no movement or overheating.
Step 8: Clean and Test Your QR Code
After engraving, gently clean the surface again—use a soft cloth for wood or leather, and alcohol wipes for metal. Test the QR code using a smartphone or scanner app from multiple angles and distances.
If the code doesn’t scan correctly, check your design size, focus, or engraving depth and make small adjustments as needed.
Step 9: Applications for Engraved QR Codes
Laser-engraved QR codes are both functional and creative. Some popular uses include:
-
Product labels linking to online shops
-
Business cards with embedded contact info
-
Timber signage with embedded maps or event details
-
Coasters or keyrings linking to music, menus, or portfolios
-
Metal tags with serial numbers or user manuals
-
Leather wristbands for festival passes or event IDs
Because they’re engraved directly onto the surface, these QR codes are far more durable than printed stickers or vinyl decals.
Why Choose the OMTech Solis Duo?
If you plan to engrave QR codes on different materials, a dual-laser system like the OMTech Solis Duo offers serious advantages.
It combines a fibre laser (for metal, including stainless steel and titanium) with a diode laser (for organic materials like timber, leather, and acrylic) in one compact machine. That means you can engrave almost anything without switching devices or setups.
Whether you’re personalising promotional products, making branded packaging, or adding digital links to artisan crafts, the Solis Duo offers precision, versatility, and professional results.
Final Thoughts
QR code laser engraving is a smart way to connect the physical and digital worlds—whether you're showcasing a product, sharing a menu, or linking to your website. With the right setup, materials, and machine, you can produce reliable, high-quality engravings that last.
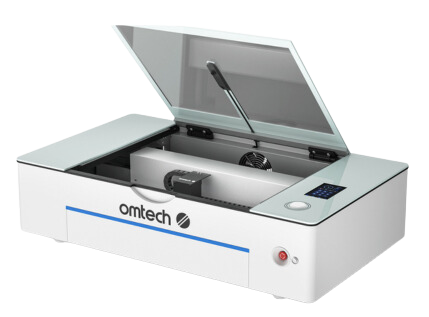
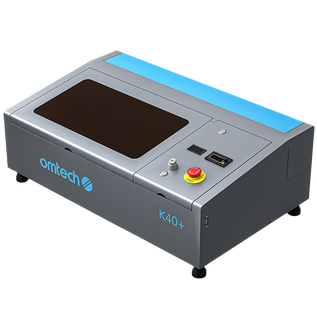
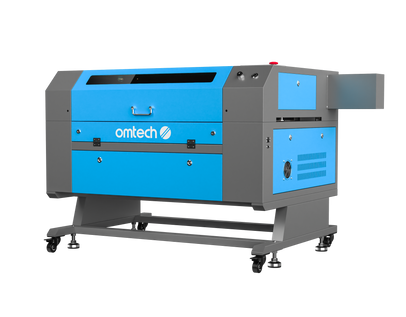
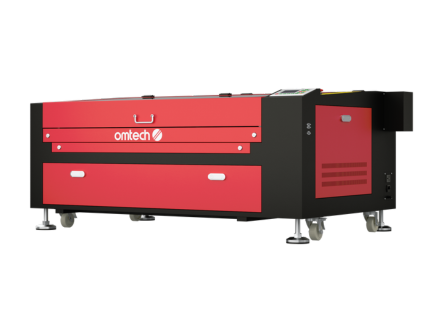
If you’re ready to expand your offerings or streamline your workflow, explore OMTech’s lineup of laser engravers—including the Solis Duo. With dual-laser technology and support for a wide range of materials, it’s the ideal tool for makers, marketers, and small businesses alike.


