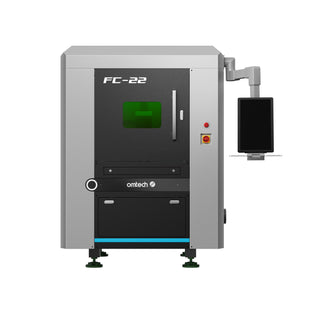
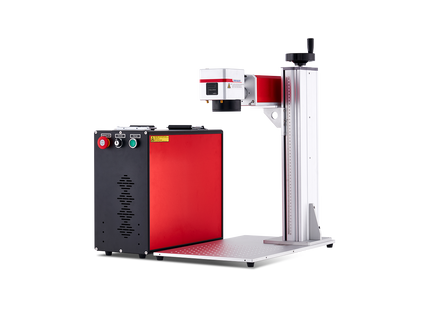
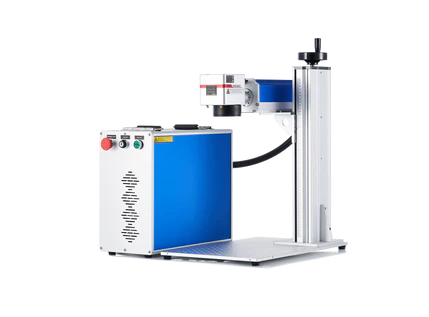
Frustrated with Blurry Laser Engravings? Here's How to Fix It with OMTech
Have you ever lined up your design, hit start on your laser engraver, and watched in dismay as the results came out faint, uneven, or not at all? Don’t worry—you’re not alone. These issues are incredibly common and, more importantly, very fixable.
OMTech Laser machines are built for reliability, making them ideal for beginners and pros alike. Whether you're crafting custom signage, engraving keepsakes, or producing bulk orders for your small business, getting consistent results comes down to a few key practices. In this guide, we’ll walk you through how to troubleshoot common problems—like blurry engravings, poor cuts, or weak burns—and how to get your OMTech Laser machine back on track.
Why Wood and Laser Engraving Make a Great Match
Timber is one of the most popular materials for laser engraving in Australia. It’s versatile, durable, and offers a beautiful, natural finish. But even premium wood can yield poor results if your machine isn’t dialled in properly.
If your engraved images look washed out or incomplete, don't stress. Most issues come down to either incorrect settings or unsuitable material. That’s where OMTech’s material presets come in handy—they provide a reliable starting point for most projects.
Here’s what makes for successful wood engraving:
- Consistent laser power and engraving speed
- Smooth, high-quality timber with minimal knots or resin
- A clean, focused laser lens
- Flat, properly aligned materials on the workbed
Get those basics right, and you’re on your way to sharp, professional-grade results.

Quick Start: Setting Up Your OMTech Laser Like a Pro
Just unboxed your OMTech machine? Follow these steps to avoid beginner errors and engrave with confidence:
Step 1: Choose the Right Type of Wood
Select wood that suits your design. Light, evenly grained woods like birch, basswood, or maple are perfect for detailed work. Avoid timber with inconsistent density like pine or MDF, which can cause uneven burns.
Step 2: Prep Your Design File
Create your artwork using LightBurn, Adobe Illustrator, or another compatible design tool. Ensure your lines are sharp, contrast is high, and your laser software supports the file format.
Step 3: Secure and Level Your Workpiece
Place the wood firmly on the engraving bed. It should sit flat and not move during operation. Even slight wobbling can distort your design.
Step 4: Adjust Focus for Sharpness
Fuzzy lines? Likely a focus issue. Manually refocus the laser head until the beam is crisp where it contacts the wood. It’s just like focusing a camera—sharp focus equals sharp engraving.
Step 5: Run a Test Pass First
Before running a full job, use a scrap piece of similar timber to test your settings. Watch for burn depth, line sharpness, and consistency. Tweak speed or power settings as needed.
Step 6: Monitor During the Job
Always supervise during engraving. If something looks off—like the laser not cutting or lines appearing too light—pause immediately, adjust, and rerun your test pass.
Common Laser Engraving Problems (And How to Solve Them)
Even experienced makers run into issues. Here’s a breakdown of typical challenges and practical fixes:
1. Design Looks Patchy or Faint
Usually caused by too much speed or too little power. Try reducing your speed slightly or increasing the laser power incrementally. Check that your timber is clean and free of oils or sealants.
2. Blurry, Out-of-Focus Engraving
If the lines aren’t crisp, your focus is likely off. Re-focus the laser head and ensure the wood is lying flat. Clean your lens and mirrors regularly to keep things sharp.
3. Laser Doesn’t Cut Through
Thick or dense wood can be tricky. Use a higher power setting, reduce the speed, or set the job to make multiple passes. Always check your material thickness beforehand.
4. Wrong Material Settings
Choosing the wrong preset is one of the most common beginner mistakes. Use OMTech’s default profiles as a base, then fine-tune for the specific wood you’re using. Always test on scrap before committing.
5. Engraving Looks Uneven Across the Board
This may mean your material isn’t sitting flat. Check for warping and ensure it’s pressed down securely on the bed. You can also try adjusting the height of the laser head.
6. Still Not Working? Check Maintenance
Dust buildup, a misaligned mirror, or a dirty lens can all cause weak or fuzzy engravings. Regular cleaning and maintenance should be part of your routine.
Pro Tips for Consistent, High-Quality Engraving
To get better results and fewer headaches, try adopting these habits:
- Create a settings cheat sheet for each timber type you use regularly.
- Label and save proven power/speed combos in your design software.
- Clean optics weekly to avoid buildup that affects performance.
- Update firmware and refer to OMTech’s guides for new features and optimisations.
- Join OMTech user groups online to swap tips and troubleshoot with the community.
By building these habits, you’ll spend less time experimenting and more time producing amazing results.
Frequently Asked Questions
Q: Why is my engraving blurry or uneven?
A: Check your focus first—if the lens isn’t aligned, the results won’t be clean. Also, make sure your material is flat and not warped, and clean the lens for maximum clarity.
Q: How do I choose the right settings for each type of wood?
A: Use OMTech’s material presets to get started, then adjust power and speed slightly based on your test results. Every timber behaves differently, so always test first.
Q: My laser isn’t cutting all the way through. What should I do?
A: The timber might be too thick, or your settings aren’t aggressive enough. Increase the power, lower the speed, or set multiple passes. Ensure your lens is clean and aligned too.
Final Conclusion
Laser engraving should be a fun and rewarding process—not a guessing game. With OMTech’s user-friendly design, reliable presets, and a bit of care in setup, you’ll quickly learn how to tackle the most common wood engraving problems like a pro.
Whether you're engraving décor, gifts, or prototypes, a solid foundation in the basics—good material, sharp focus, and clean optics—makes all the difference. So don’t give up. Test, tweak, and try again. Your next flawless design is just a few settings away.


