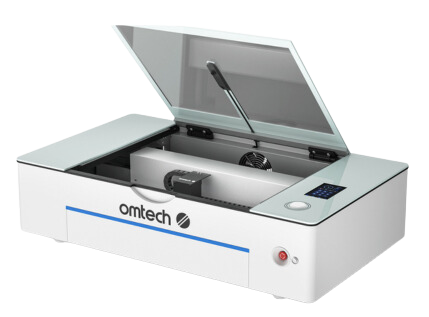
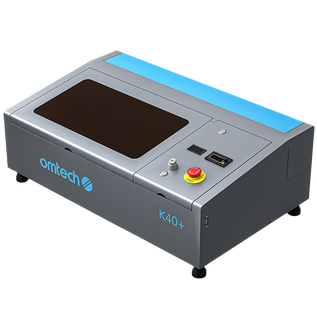
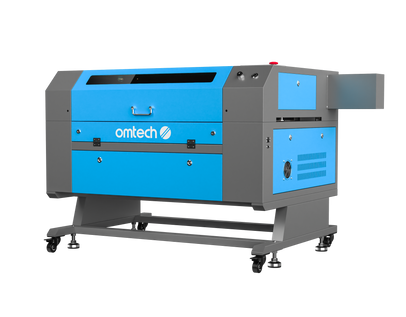
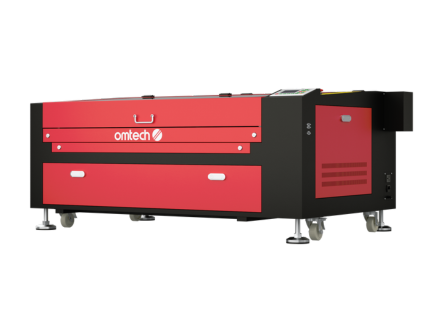
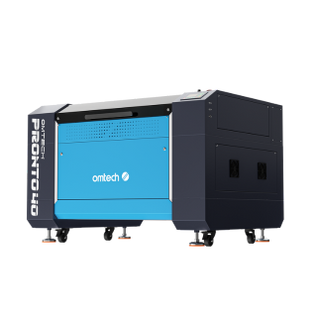
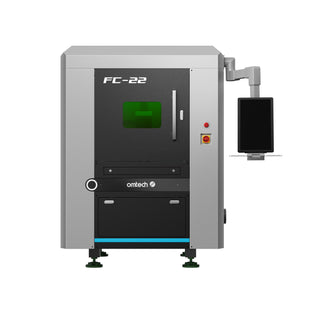
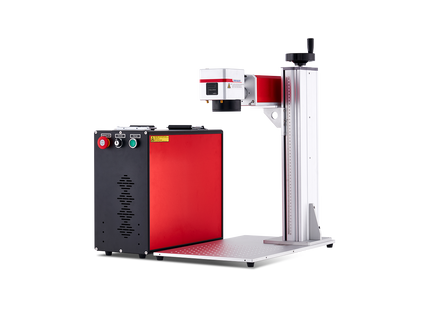
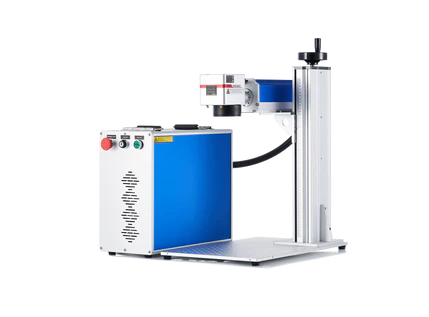
Laser Beam Alignment with OMTech: A Simple Guide
Laser engraving can be fun, creative, and rewarding. But to get the best results, your machine must be set up the right way. Beam alignment is one of the most important steps. Without it, even the best designs can look rough or uneven.
OMTech laser machines are known for being reliable and beginner-friendly. They are made for precision work, but like any tool, they need care. A quick calibration and regular alignment help you get clean cuts and fine details every time.
This guide will walk you through the process. You’ll learn why alignment matters, what makes OMTech stand out, and the easy steps to keep your beam sharp. Think of it as basic maintenance that saves time and stress while giving you better results.
Why Calibration Matters
Calibration is like tuning a guitar. If it’s even slightly off, the whole song sounds wrong. The same is true for your laser engraver. A misaligned beam won’t hit where it should. The result is uneven cuts, poor detail, and wasted material.
Regular alignment ensures that your laser fires straight and at the right depth. It means cleaner edges and sharper engravings. The process may sound technical, but with OMTech machines, it’s simple. Even first-time users can learn quickly.
A little time spent on calibration makes every project easier. It saves you from constant re-adjustments and keeps your engraver working at its best.
What Makes OMTech Laser Special?
OMTech has earned a strong reputation with makers, hobbyists, and small businesses. Their machines are built for accuracy but designed with the user in mind. Here’s why many choose OMTech:
- High precision – The systems are made for consistent results across many materials.
- Easy to adjust – The controls make it simple to align the beam, even for beginners.
- Step-by-step support – Manuals and guides explain calibration clearly.
- Durable build – These machines can handle long-term use with only basic care.
The benefit is clear: less guesswork and more reliable performance. With regular checks, your OMTech laser stays accurate and ready for every project.
Step-by-Step Guide to Laser Beam Alignment
Beam alignment may sound complicated, but it only takes a few steps. Here’s a routine you can follow to keep things sharp.
Inspect and Clean First
Before turning the power on, check your optics. A dusty lens or mirror can ruin your beam. Even a small smudge can affect quality. Use a soft, lint-free cloth with lens cleaner. Wipe gently and avoid pressing hard.
This quick step prevents problems later. Clean optics let the laser perform at full power.
Get Ready to Calibrate
Once clean, power on the machine. Some OMTech models include a calibration mode. If yours does, follow the prompts on-screen. If not, check the manual. Each model has slight differences, but the idea is the same: adjust until the beam is straight.
Always make changes slowly. A small tweak can make a big improvement.
Adjust Focal Length and Z-Axis
Next, set the focal length. This decides how deep the laser cuts into the surface. Too short or too long, and the cut will look rough. Use the control panel to fine-tune.
Check the Z-axis too. This ensures the laser head moves up and down evenly. A well-set Z-axis gives you consistent results across the whole project.
Run a Test Engraving
Now it’s time to test. Pick a simple design or shape, like a square or circle. Watch carefully. Is the cut smooth? Is the beam hitting the right spot? If not, adjust again.
Think of it like adjusting a camera lens. Tiny changes can make a big difference in sharpness.
Lock It In and Start Creating
Once your test looks good, lock the settings. From here, you’re ready to engrave with confidence. Whether you’re making signs, gifts, or teaching a class, a well-aligned beam gives you clean and professional results.
View the Laser Engraving Machine Beginner's Guide: https://www.omtech.au/pages/omtech-beginners-guide?_pos=2&_sid=0855bb768&_ss=r.
Simple Maintenance for Long-Term Accuracy
Calibration is not a one-time task. Small changes in environment, like temperature or humidity, can affect your beam. That’s why it helps to make maintenance a habit.
Here are some easy routines:
- Check often – A quick alignment check before a big job saves time later.
- Note your environment – If you move your machine, always re-check the beam.
- Keep a log – Record when you clean or align. Over time, you’ll see patterns.
- Use your resources – OMTech manuals and video guides are there to help.
These small steps prevent larger issues. With practice, alignment takes only a few minutes.
Where Technology Meets Creativity
Laser engraving isn’t just about machines. It’s about creativity. When your OMTech laser is aligned, it becomes more than a tool—it becomes a partner in design.
You can try new textures, patterns, or detailed images without worrying about poor cuts. You can personalise gifts, make prototypes, or explore classroom projects with confidence.
Think of alignment as setting the stage. Once everything is in tune, your ideas can shine.
Frequently Asked Questions
Q: What does calibration mean for my OMTech machine?
A: It means aligning the beam, checking focal length, and making sure the Z-axis is correct. This ensures clean cuts and sharp details.
Q: How often should I align the beam?
A: A quick check once a month is good. If you move the machine, bump it, or change workspaces, check again.
Q: Can I do alignment myself, or do I need a technician?
A: You can do it yourself. OMTech machines are designed with easy alignment. Just follow the manual and make adjustments step by step.


