Laser Safety Made Simple: Smart Tips for Labels & Layouts
Laser engraving machines have opened new doors for makers, teachers, and small business owners. They are loved for their accuracy and for the creative results they deliver. From wood signs to school projects, or even custom products for a side business, a laser engraving machine can handle it all.
But with power comes responsibility. These machines use concentrated light beams that can cause harm if not managed correctly. Safety is not only about following rules. It is about creating a safe and comfortable space where ideas can grow without putting anyone at risk.
This guide explains the basics of laser safety. We’ll focus on warning signs, workshop layouts, and simple protective gear. Everything is explained in plain language, so you can keep your creative flow without stress.
Warning Labels and Safety Signs: Your First Layer of Protection
When using a laser cutter or engraver, visual warnings are critical. Labels and signs do more than tick a compliance box. They protect people and help avoid costly mistakes.
Here’s what you should include in your shop:
-
Protective Gear Reminders
Laser safety glasses, heat-resistant clothing, and good ventilation are not optional. These are your first line of defence. Keep them visible, easy to reach, and in good condition. -
Durable Safety Signs
Make your warning signs clear and permanent. Use materials that can resist heat and light. Stick to bold, high-contrast colours like red for danger and yellow for caution. -
Machine Labels
Every laser engraving machine should carry labels that explain what it does, its risks, and how to use it safely. Avoid “mystery machines” that confuse users. -
Specific Hazard Signs
Point out hot surfaces, radiation risks, and emergency steps. Signs should be large enough to read from across the room.
Think of safety labels like seatbelts. Small items, but they save you when you need them.
Designing a Workshop That Works for Safety
The way you set up your space matters. A messy or unclear layout raises the risk of accidents. With some planning, you can create a workspace that is safe, simple, and efficient.
Practical layout tips include:
-
Put Signs Where People Look
Place warning signs at every entry point. Add them near machines and in any area where accidents could happen. Visibility is key. -
Standard Wording Helps
Use common messages like “Laser in Use – Authorised Access Only” or “Caution – Laser Radiation”. Simple, direct words get the point across quickly. -
Mark Safety Zones
Tape the floor, draw clear lines, or set up small barriers around the laser work area. This helps everyone know where it is safe to stand and when protective gear is required.
A well-organised layout doesn’t just look good. It keeps people alert and reduces mistakes without constant reminders.
OMTech Laser: Safe, Reliable, and Precise
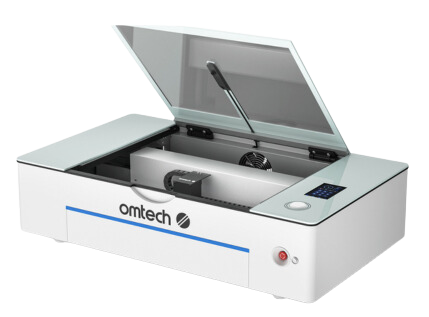
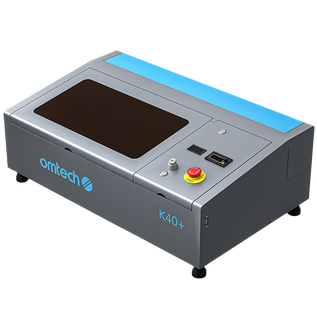
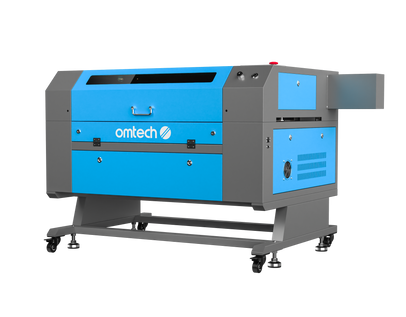
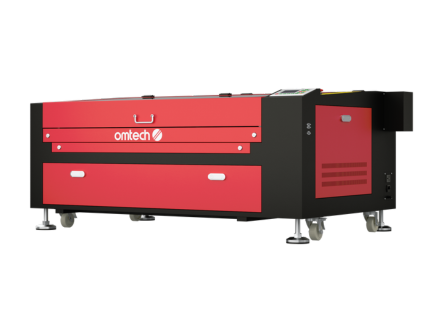
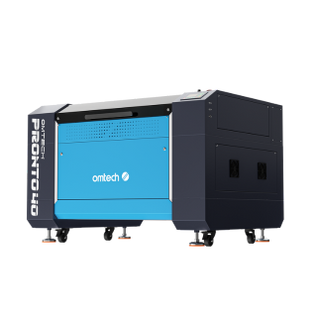
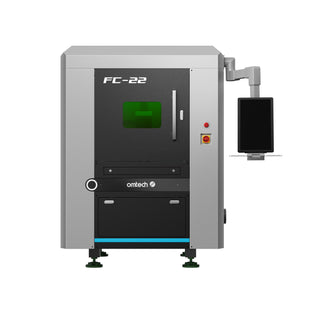
Many hobbyists, schools, and small businesses choose OMTech laser engravers. Why? Because they combine professional engraving results with easy-to-use safety features.
Here’s what makes OMTech machines stand out:
-
Simple Controls
The interface is user-friendly. Beginners can start without confusion, and experts can work faster. -
Built-In Safety Alerts
The system notifies you if the lid is open or if someone is too close. It’s like having an extra pair of eyes. -
Adjustable Settings
You can set power, speed, and depth to fit your material. This reduces risks like overheating or burns. -
Sturdy Build
The solid frame keeps the machine aligned, preventing accidents caused by loose parts.
Safety is not an afterthought here. It’s part of the machine itself.
5 Easy Steps for Safe Laser Engraving with OMTech
Whether you’re new to engraving or a regular, use these five steps to stay safe:
Step 1: Prep the Workspace
- Put on your safety glasses.
- Check that ventilation is working.
- Mark all entry points with warning signs.
Step 2: Inspect the Machine
- Look for loose screws or worn parts.
- Check that all labels are clear.
- Test the emergency stop button.
Step 3: Secure the Material
- Use clamps or jigs to lock the wood or acrylic in place.
- Stable materials prevent slips and uneven engraving.
Step 4: Set Parameters Correctly
- Match the power and speed to your design and material.
- If unsure, start with OMTech’s preset settings and adjust as needed.
Step 5: Monitor the Process
- Stay nearby while the laser runs.
- Pause if you see or hear anything unusual.
- Let the work cool before touching or moving it.
Think of this process as a pilot’s checklist. Repeat it every time. It builds a habit of safe operation.
Bonus Tips for Safer Laser Shops
Want to raise the safety level in your shop even more? Try these tips:
-
Buy Quality Stickers
Order laser-rated warning labels from trusted suppliers. They last longer and remain readable under heat and light. -
Keep Gear Handy
Don’t hide safety glasses in a drawer. Use wall hooks or labelled bins close to your laser station. -
Check Often
Inspect your labels and gear. Replace items that are faded, broken, or outdated. -
Share Knowledge
If friends or colleagues use your shop, walk them through the safety zones. Show them the signs. Five minutes of guidance can prevent serious issues later.
When safety becomes automatic, you can focus on creating instead of worrying.
Frequently Asked Questions
Q: What safety labels are needed on a laser engraving machine?
Labels should warn about laser radiation, heat, and eye hazards. Place them directly on the machine and at access points.
Q: Where should I put warning signs in my shop?
Signs should be at every entry to the laser area, near the machine, and in marked safety zones.
Q: How can I keep my setup safe over time?
Do regular safety checks. Keep signs fresh, gear ready, and zones marked. Add refresher training if others use the shop.
View the Laser Engraving Machine Beginner's Guide: https://www.omtech.au/pages/omtech-beginners-guide.


