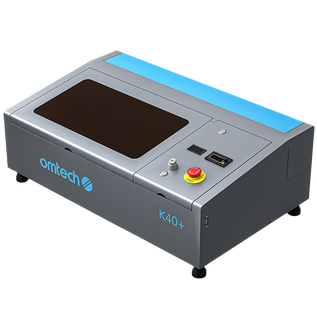
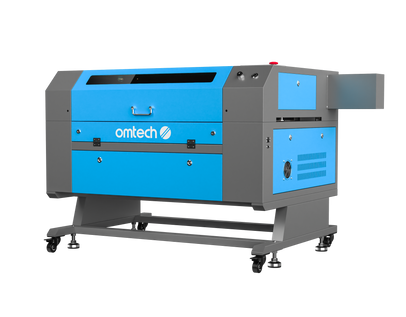
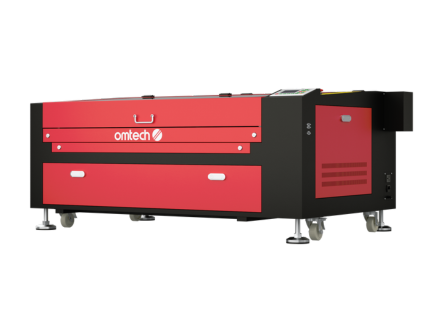
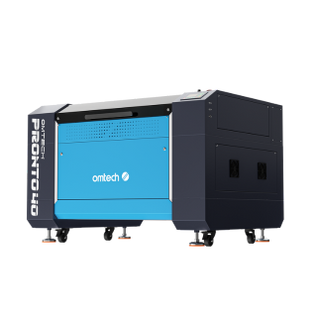
Preventing Laser Engraver Jams: Smart Belt & Rail Maintenance for Smooth Operation

If your OMTech Laser engraver starts acting up—pausing in the middle of a job, grinding on the rails, or producing jagged lines—chances are, it’s struggling with a mechanical issue. But don’t stress. Most movement issues come down to overlooked maintenance on belts and guide rails. And the fix? It's usually far simpler than you'd expect.
This guide walks you through a hands-on approach to preventing movement problems, so your laser cutter delivers clean, precise results every time. Whether you're an artist, educator, or small business owner in Australia, these maintenance tips can help maximise the life and performance of your CO2 laser machine.
👉 Looking to upgrade your current machine? Explore our powerful mid-range laser engravers or check out the full lineup at omtechlaser.au.
What’s Slowing You Down? Common Mechanical Issues
Mechanical hiccups are part of owning any laser cutter, especially when used regularly. Here are a few problems that could indicate it’s time to inspect your machine:
- The engraver doesn’t move or get stuck during a job.
- Rail movement becomes stiff or jerky.
- Vibration marks or uneven engraving lines appear.
- Stepper motors make grinding or high-pitched noises.
- The belt looks saggy or misaligned.
These issues can usually be traced back to dirty rails, loose belts, or unbalanced gears—all of which can be solved with regular care and basic tools.
Why Preventive Maintenance Matters
Think of your OMTech Laser like your car: regular servicing prevents long-term damage. If you're using a CO2 laser, it’s especially important to keep the mechanical components clean and well-aligned.
Performing weekly checks—even if you’re not a heavy user—ensures the belt remains taut, gears are snug, and rails are free of debris. It also allows you to catch early warning signs before they result in total job failure or permanent wear.
Step-by-Step Guide: Adjustments That Make a Big Difference
Step 1: Inspect and Adjust Belt Tension
Turn off the power and unplug your machine before making any adjustments.
- Check if the belts are sagging, frayed, or stretched.
- Gently press on the belt—it should have a slight give but should not feel loose.
- Refer to your OMTech manual for correct tension settings and how to adjust them.
- Ensure the belt runs in a straight line along its track without rubbing.
💡Pro Tip: A loose belt can cause delays, double images, or zigzag engravings.
Step 2: Clean the Rails
Over time, dust and smoke residue can build up on the rails, slowing down the carriage.
- Use a soft, dry brush or cloth to clean the guide rails.
- For sticky areas, use a laser-safe cleaner on a lightly damp cloth.
- Avoid using harsh chemicals—they can corrode the rail surface or attract more dust.
Keeping the rails spotless allows your laser cutter to glide smoothly, delivering consistent cuts and engravings.
Step 3: Tighten the Gears
The gear system transfers motion from the motor to the gantry—any looseness here can result in wobbly lines or skipped sections.
- Check for cracked gear teeth or signs of slipping.
- Use the appropriate tool to gently tighten any gear screws or bolts.
- Ensure that the gear engages fully with the belt teeth.
Tip: Over-tightening can cause wear, so aim for firm but not forced.
Step 4: Check the Stepper Motor and Wiring
Stepper motors power the precise movements of your CO2 laser. If they’re struggling, it could be due to overheating, wiring faults, or excessive strain.
- Look for warning indicators on your display panel.
- Check that the motor is secured firmly in place.
- Inspect wiring for looseness or signs of heat damage.
- Make sure the motor isn’t overburdened due to belt misalignment.
Step 5: Run a Calibration Test
Once all adjustments are made, run a basic test job using a low-power setting.
- Watch the head movement closely for signs of stutter or drag.
- Listen for irregular motor sounds or resistance.
- Check the engraving results for clean, uniform lines.
A successful test means your machine is ready to get back to producing clean work with zero fuss.
When to Troubleshoot Specific Problems
If you notice any of the following, here’s what to look at first:
|
Issue |
Likely Cause |
|
Engraver not moving |
Check belt, power cable, or motor |
|
Stiff movement |
Clean the rails, check rail alignment |
|
Jumpy or wobbly lines |
Tighten belts and gears |
|
Stepper motor strain |
Check for debris or misaligned belts |
How to Make Maintenance a Routine Habit
- Weekly: Wipe down rails, check belts, and visually inspect gears.
- Monthly: Deep clean all moving components and test motor function.
- Every 3–6 Months: Perform a full calibration test and review software settings.
Having trouble finding the right machine for your needs? Browse our full CO2 laser machine collection and choose one that fits your engraving goals—whether you're personalising home decor or starting a side hustle.
Conclusion: Smooth Engraving Starts with Clean Mechanics
Jammed rails, misaligned belts, and slipping gears don’t just interrupt your creative flow—they can shorten your OMTech Laser's lifespan if ignored. Fortunately, with just a few preventative steps, you can keep your laser cutter running like a dream.
Regular maintenance isn’t just about avoiding problems—it’s about improving precision, prolonging machine life, and ensuring every engraving comes out just the way you imagined. Follow this guide, stay proactive, and you’ll enjoy hassle-free laser engraving for years to come.
Frequently Asked Questions
Q: What should I do if my laser engraver won’t move at all?
A: Start by turning off the machine. Check the belt tension, rail cleanliness, and ensure all motor connections are secure.
Q: How often should I maintain my OMTech laser cutter?
A: For frequent users, aim for weekly light maintenance and a deep clean every 1–2 months. Occasional users should perform checks before each new project.
Q: Are gear issues really that serious?
A: Yes—loose gears can misalign the entire drive system, causing both aesthetic issues and mechanical stress. Tighten them regularly to maintain top performance.


