Quick-Stop Safety Made Easy: A Hands-On Guide to Laser Cutter Safety
Laser engraving has changed the way makers, teachers, and small business owners work. It offers precision, speed, and the ability to create detailed projects with ease. A laser cutter or laser engraving machine can be used for signs, gifts, prototypes, or even small-scale production. But with power comes risk.
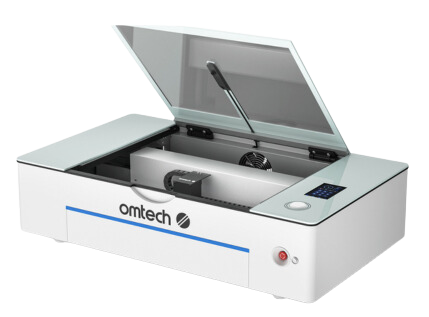
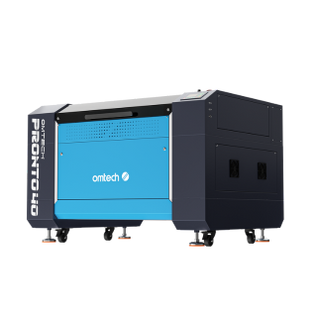
Safe use of a laser engraving machine is not just about rules. It is about protecting people, equipment, and your creative flow. That’s where OMTech Laser stands out. These machines don’t just provide accuracy. They also include safety features designed to protect users.
Think of it this way: creativity is the accelerator, safety is the brake. Knowing how to stop a machine quickly is just as important as knowing how to start it.
What Safety Gear Should Your Laser Engraving Setup Include?
When setting up a laser engraving machine, gear and protective tools are vital. You need more than goggles and lighting. Here are the essentials for safe operation:
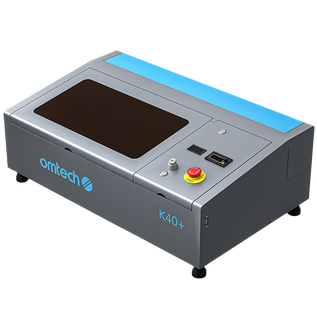
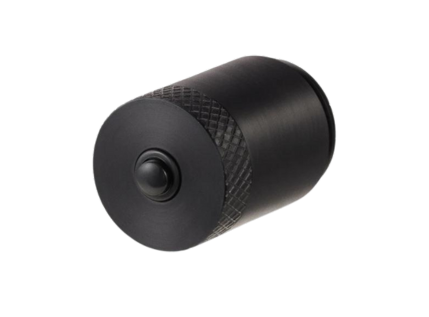
- Emergency Stop Buttons: These are large, bright, and easy to see. They cut power to the laser instantly. Think of them as the “panic button”. In emergencies, you can stop everything in a second.
- Quick-Stop System: Many OMTech models include a built-in quick-stop feature. This lets you shut down operations fast, without delay. No stress, no wasted time, just safety.
- Simple Installation: Safety components are built into OMTech machines. You don’t need to add parts or assemble safety gear. The system is ready to use right away.
These features make sure your workshop is safe without slowing down your creativity.
How to Laser Engrave Safely at Home
Easy Steps to Build a Safer Laser Engraving Space
Safety doesn’t happen by accident. A safe workspace requires planning. Here are five simple steps to follow:
Step 1: Check Your Environment
Look at your workspace. Is it clean? Is it free of flammable items? Is there good airflow? A tidy and well-ventilated space lowers the risk of fire or fumes.
Step 2: Install Controls
Make sure stop buttons and switches are installed correctly. Place them where they are easy to reach. Labels should be clear. Every user should know where the controls are located.
Step 3: Test Controls Often
Do not wait until an emergency to test the stop button. Press it regularly. Try it once a month or more. A quick check before each session adds peace of mind.
Step 4: Train All Users
Anyone who uses the machine must understand how to stop it. Training is key. Show others how the emergency system works. Practice responses so they become second nature.
Step 5: Stay Up to Date with Maintenance
Keep switches, buttons, and the machine itself clean. Dust and dirt can affect performance. Regular maintenance avoids problems and keeps your system safe and efficient.
Why OMTech Laser Makes Safety a Priority
OMTech doesn’t just make strong, reliable machines. They also build laser cutters with user safety at the core. Precision is important, but safety matters just as much.
Emergency stop systems are built into the design, not added later. With these features, you don’t just stop a job, you protect your workspace. You also show that you care about safety as much as creativity.
These built-in systems provide trust and reliability. When working with high-powered tools like a laser engraving machine, confidence is critical. You need to know that your machine can stop the moment you need it to.
Keep Your Workflow Safe with Smart Maintenance
Safety is not a one-time action. It is an ongoing habit. Here’s how to keep your system safe:
- Wipe down emergency buttons often. Dust can affect response time.
- Inspect cables and connections for wear or looseness. Replace when needed.
- Label every stop button in your space so no one is confused.
- Schedule safety checks. Invite a technician or someone experienced to review your setup.
These habits don’t take long. But they can prevent accidents and save you from downtime.
Bonus Tips for Safer Laser Cutter Use
Want to take your setup to the next level? Here are some bonus ideas:
- Place your stop button in a spot where you can reach it even if you’re distracted.
- Don’t cover or block labels. Keep them clear and visible.
- Store safety glasses and gloves near the machine. Don’t hide them in drawers.
- Share knowledge. If friends, staff, or students use your machine, give them a quick safety run-through.
A few extra minutes of planning can prevent big problems later.
Frequently Asked Questions
Q: What happens if I press the emergency stop button on my laser cutter?
A: First, don’t panic. The button will cut power. Once safe, follow your machine’s manual to reset it. Always check that all safety features are working before starting again.
Q: How often should I test the emergency stop?
A: Monthly testing is good practice. It’s also smart to do a quick check before each session. A working button is peace of mind.
Q: Can emergency stop buttons wear out?
A: Yes, over time. Keep them clean and free of dust. Follow the maintenance guide in your user manual. Replace them if you see signs of damage or delay.
Q: Is safety really needed if I only engrave small projects?
A: Yes. Even small jobs can cause risk. A laser engraving machine uses high power, heat, and light. Safety is important no matter the size of the task.


