Smart Fume Venting: Cleaner Air for Your Creative Space
Laser engraving is rewarding and fun. You can create detailed designs on wood, acrylic, leather and more. But there’s one thing you can’t avoid—smoke and fumes.
Every time your laser cuts or engraves, it burns a little of the material. That smoke doesn’t just smell bad. It can fill your workshop, stick to your projects, and even harm your health if you don’t clear it properly.
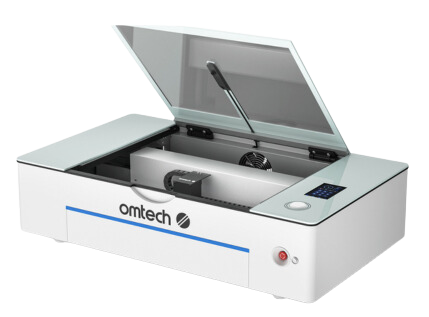
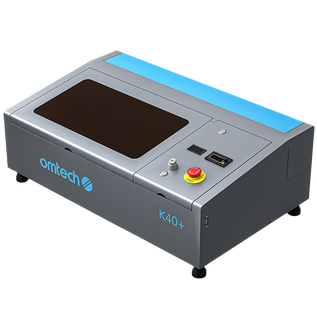
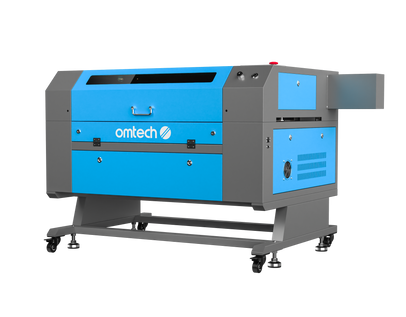
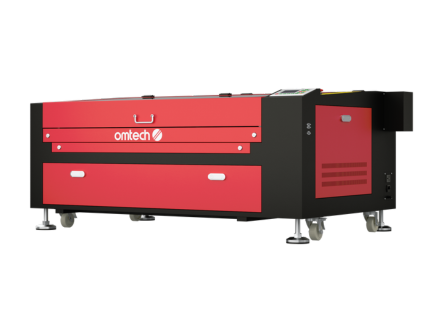
This is where smart venting makes all the difference. OMTech Laser machines are accurate and easy to use, but pairing them with the right fume system keeps both you and your machine in top condition. In this guide, we’ll look at why ventilation matters, how you can set up your own DIY fume solution, and what steps will give you cleaner air without breaking the bank.
Why Laser Ventilation Matters
When your laser burns through material, it releases particles and gases you don’t want in your lungs. Some are tiny enough that you can’t see them, but they hang in the air for hours.
Here’s why good ventilation is important:
- Your health – Breathing smoke and fumes every day can irritate your lungs and lead to bigger problems over time.
- Your projects – Smoke can settle on your material mid-job, leaving marks or residue that spoil the final look.
- Your laser – Dirty air clogs fans and builds up inside your engraver, shortening its life.
So, the question “Do I really need a fume extractor?” has a simple answer—yes, you do.
DIY Fume Venting – Easier Than You Think
You don’t need to spend hundreds of dollars on an industrial fume extractor. Plenty of laser users build their own setups using basic gear from hardware shops.
Common questions people ask:
- Can I just use a normal fan?
- How do I vent smoke outside?
- Can I build a simple filter on my own?
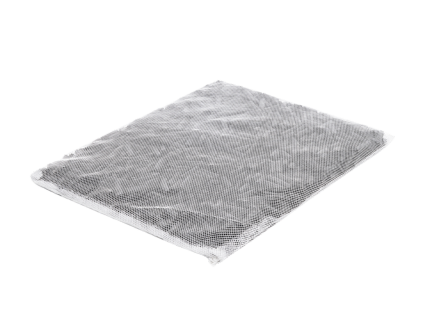
The answer to all three is yes—with a little effort. All you need is a fan, ducting, and filters. A HEPA filter and activated carbon filter together work best. They catch tiny particles and absorb odours.
If you want to improve cut quality as well, add an air assist. This is a small air blower that pushes smoke away from the cutting path, giving you cleaner edges and less burn marks.
OMTech Provides Some Creative Inspiration for Your Laser Engraving Machine
Step-by-Step: Setting Up Ventilation for Your Laser
Here’s a simple plan to follow when setting up your vent system:
1. Pick the vent spot
Choose a location close to your OMTech laser’s exhaust outlet. Ideally, it should go straight out through a wall or window. The shorter the path, the faster smoke clears.
2. Gather your tools
You’ll need:
- A fan (with a HEPA filter if possible)
- Flexible ducting
- Activated carbon filters
- Clamps or tape to hold everything in place
3. Put it together
Connect the fan to the ducting and filters. Make sure every joint is sealed tightly—air leaks reduce performance. Aim the duct outside or through a window so the fumes leave your workspace.
4. Test airflow
Turn on your laser and check if smoke clears quickly. If it lingers, adjust the duct, increase fan power, or check for leaks.
5. Keep it clean
Replace or wash filters regularly. A good rule is once a month if you use your laser often. This keeps airflow strong and fumes under control.
Tips for a Cleaner Workspace
Here are some extra tricks that make your venting system even better:
- Clean filters often – Dirty filters block airflow and let fumes escape.
- Place vents high – Smoke rises, so venting higher helps it leave faster.
- Use air assist – A small stream of air at the laser head keeps smoke away from the cut.
- Start simple, then improve – Build a basic setup, test it, then upgrade as needed. Even cardboard test ducts work for trials.
With these steps, you’ll notice a big difference in both air quality and engraving results.
Don’t Forget Safety Gear
Good ventilation is the first step, but personal protection matters too. Always keep:
- Safety glasses (especially with CO₂ or fibre lasers)
- A respirator mask for smoky jobs
- A workspace with open airflow or windows
Different materials release different fumes. For example, cutting acrylic smells different from cutting wood. Leather creates heavier smoke. The more variety in your projects, the more important a strong filtration system becomes.
For best results, combine systems. A fume extractor paired with a carbon air filter can remove both particles and smells before they spread.
Check Out Issues to Pay Attention to When Using Laser Engraving Machines on Different Materials: https://www.omtech.au/blogs/news/all-to-know-about-laser-engraving-and-cutting-different-materials.
Pairing OMTech Lasers with DIY Venting
Even small OMTech laser machines produce smoke. Venting is not optional.
Here’s how to combine your laser with your fume setup:
- Look at your space—how quickly does smoke build up?
- Match your fan and duct size to your machine’s output.
- Keep the duct as close as possible to your laser’s exhaust.
These small steps protect your health, improve engraving quality, and extend the life of your equipment.
Common Questions from DIY Makers
Q: Can I use a normal fan instead of a professional extractor?
A: Yes, but it works best with filters. A fan alone just moves smoke around. Add HEPA and carbon filters for better results.
Q: How often should I clean the vent system?
A: Check it monthly. If you engrave daily, you may need to clean filters and ducts more often.
Q: How much does DIY venting cost?
A: A basic system can cost under $100. Industrial fume extractors are more expensive but save time and hassle. The choice depends on how often you use your laser and how sensitive you are to fumes.


