Unlocking Creative Possibilities with Laser Cutting and Design Software
The world of laser cutting has come a long way in recent years—and thanks to brands like OMTech Laser, high-performance laser machines are more accessible than ever for hobbyists, designers, and small business owners across Australia. Whether you're engraving personalised gifts, building model kits, or cutting intricate patterns, OMTech makes it easier to turn digital designs into physical masterpieces.
Pair that with intuitive design software like LightBurn, and you’ve got a full toolkit for professional-quality results—right from your home workshop.
Explore OMTech Laser’s full product range here: https://omtech.au/
Your Creative Toolbox: Software That Powers Laser Design
Great projects start with great planning—and for laser engraving and cutting, that means choosing the right design software. Whether you're a total beginner or an experienced maker, OMTech Laser machines are compatible with a wide range of programs to match your skill level and workflow.
Here are the most popular tools you’ll find in an Aussie maker’s creative toolbox:
LightBurn – The All-in-One Laser Control Software
LightBurn is a favourite among OMTech users. It allows you to import artwork, adjust laser settings, and preview your cuts—all in one place. Whether you’re engraving on wood or cutting acrylic, LightBurn gives you the control and flexibility to get stunning results.
Get LightBurn for your OMTech Laser: https://omtech.au/products/lightburn-software-download-for-40w-co2-laser-engraver

Vector Editors – Create Scalable Graphics
Programs like Adobe Illustrator and Inkscape are ideal for crafting detailed vector artwork. Clean lines, crisp typography, and symmetrical shapes all translate well into laser-cut designs.
CAD Software – Precision Engineering for Makers
For technical drawings and measurable layouts, CAD programs such as AutoCAD and Fusion 360 are your best friends. They allow you to produce highly accurate, production-ready files that work perfectly with your OMTech laser machine.
3D Modelling Tools – Bring Depth to Your Creations
Take your creativity into the third dimension with software like Blender, SketchUp, or SolidWorks. These tools let you build layered artwork, architectural models, or intricate assemblies that you can cut and engrave in stages.
CorelDRAW and Others
Already using CorelDRAW? No problem. OMTech’s systems are compatible with a wide range of formats and layout tools, so you can stick to what works best for you.
Whether you're building signage, jewellery, or decorative wall art, these programs allow you to create—and export—files compatible with your OMTech laser for accurate, repeatable results.
Getting Started: Laser Engraving Wood Like a Pro
Wood is one of the most versatile and forgiving materials for laser engraving, making it a perfect starting point. Here’s how to get started on your first wooden engraving project using your OMTech laser machine:
Step 1: Choose the Right Timber
- Stick with clean, flat wood surfaces for optimal results.
- Materials like plywood, MDF, or hardwoods (like birch or maple) are all excellent choices.
- Make sure the surface is free from dust or oils that might interfere with the laser.
Step 2: Design Your Artwork
Whether you use LightBurn, Illustrator, or a CAD program, simplicity is key at the start. Bold lines and strong contrast translate better to wood, especially if you’re still getting the hang of things.
Step 3: Set Up Your OMTech Laser
- Secure your timber on the bed to prevent shifting.
- Use OMTech’s built-in presets for wood—or tweak speed and power settings for more detailed work.
- Always perform a test burn on a scrap piece first to dial in your settings.
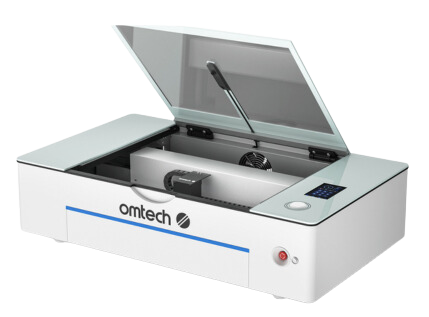
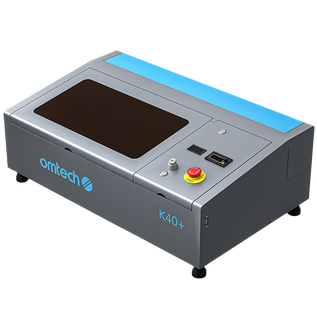
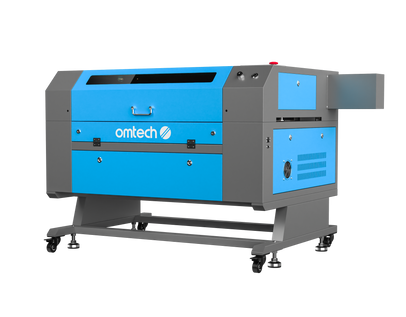
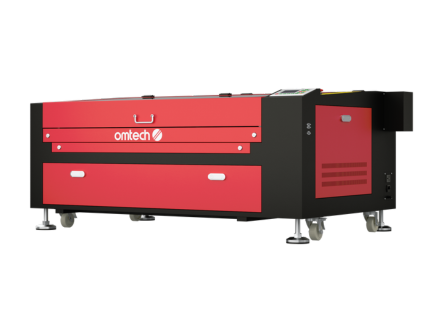
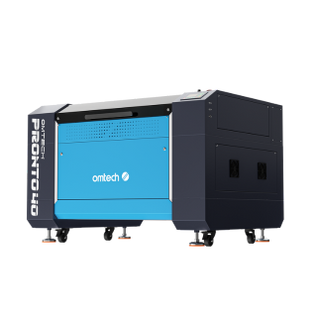
Looking for the ideal machine to get started? Browse OMTech’s mid-range laser engravers.
Step 4: Run Your Job
With everything in place, let your laser machine do its thing. OMTech’s precision engineering ensures fine lines and smooth cuts—even on intricate artwork.
Step 5: Finish the Piece
Once engraving is complete, brush away residue and sand the surface lightly if needed. Add a sealant or stain to enhance the look and protect your design.
Beyond Flat Designs: Adding Depth with 3D Modelling
While traditional engraving is impressive on its own, combining laser precision with 3D design opens up an entirely new realm of possibilities. You can:
- Create layered wall signs
- Cut interlocking parts for model kits or puzzles
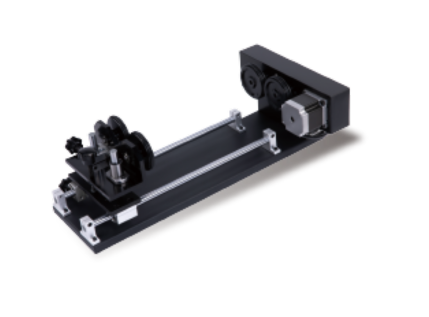
- Engrave curved surfaces using rotary attachments
- Simulate dimensional textures in wood or acrylic
Software like Blender, SketchUp, or Fusion 360 makes this easy, and OMTech laser machines are more than capable of handling complex, multi-step cutting processes with absolute consistency.
Creative Tips for Better Laser Projects
Ready to take your projects to the next level? Here are a few tips from experienced Aussie creators:
- Experiment Often – Use offcuts and test scraps to try different speeds and power settings.
- Stay Organised – Label your files clearly and maintain a folder system for easy project tracking.
- Start Small – Projects like keychains, bookmarks, or coasters are great for beginners.
- Join the Community – OMTech has an active community of makers who share files, settings, and troubleshooting advice. Join Facebook groups or local makerspaces for support.
Project Ideas to Inspire Your Next Creation
With OMTech’s laser machines and the right design tools, your only limit is your imagination. Here are a few ideas to spark your creativity:
- Custom Nameplates – Personalised and practical.
- Layered Signs – Combine engraving and cutting for multi-dimensional decor.
- Gift Boxes – Engrave heartfelt messages into wood for one-of-a-kind packaging.
- Educational Aids – Cut shapes or letters for learning tools and puzzles.
- Business Signage – Professional, sleek, and 100% customisable.
Whether you're crafting for personal enjoyment or launching a side hustle, OMTech machines give you the freedom to do more.
FAQs: Creative Laser Design with OMTech
Q: What’s the best design software for beginners?
A: Adobe Illustrator and Inkscape are both excellent for beginners. Inkscape is free and packed with community tutorials, while Illustrator is widely used in professional design workflows.
Q: Can I design in 3D for use with OMTech?
A: Absolutely. Tools like Blender, Fusion 360, and SketchUp are perfect for modelling 3D elements. Many creators start with 2D engraving and graduate to layered, 3D assemblies.
Q: How do I get the best engraving quality on wood?
A: Start with OMTech’s presets—they’re surprisingly accurate for most wood types. Then, test different speed and power settings on scrap wood to find your ideal setup. Grain density and wood hardness can affect results, so adjust accordingly.


